
How to style it
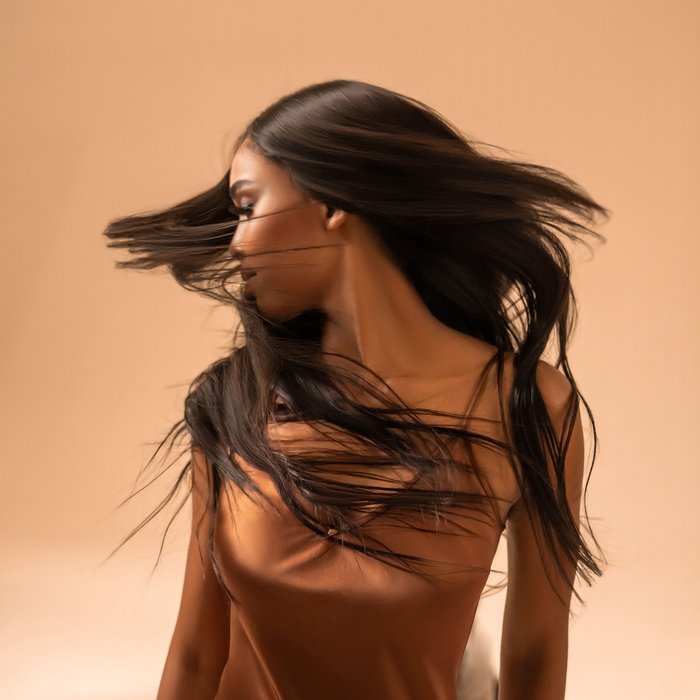
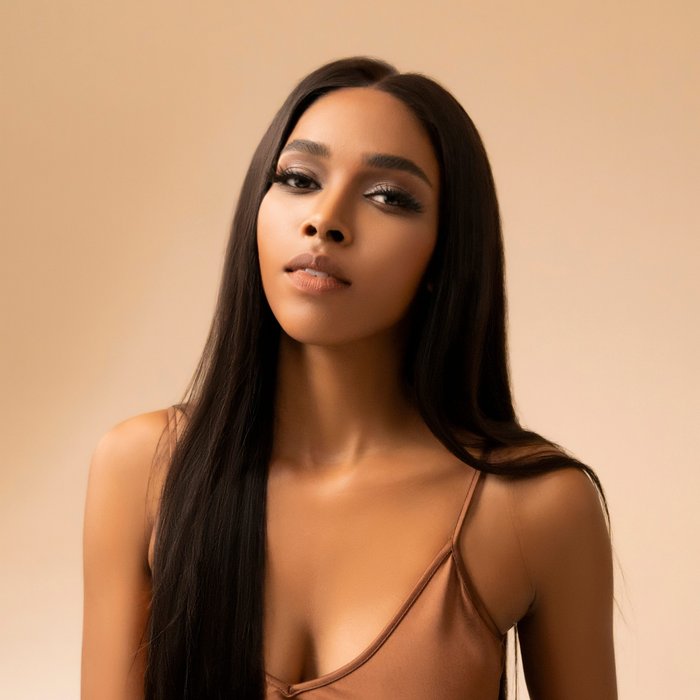
The 13x6 lace gives versatile options for parting, including deep Z, that C-shaped parting I see all the baddies on IG doing, but as a baby wig-wearer, I decided to take baby steps and stick with the pre-programmed middle part.
Using warm water, a mild shampoo – and no rough twisting or scrubbing motions – I washed the wig before I started. The easiest way I found to do it was using a big enough bowl to submerge the wig so I could carefully work the shampoo through with patting and scrunching movements with fingers. (This was also sensory heaven because the hair is so soft!) I then replaced the soapy water with fresh water until it ran clear.
The three basic products you need in your wig arsenal are a good mousse (think of it as your leave-in), heat-protectant and hairspray. This is where I wouldn’t cut corners because these are the products that will keep your 100% human hair wig looking like a 100% human hair wig. The styling process will also be a lot easier if you use a wig stand (and it’s also the best way to store your wig when you’re not wearing it).
After detangling with a wide tooth comb, I brushed a volumising and nourishing mousse through the damp hair. You can leave it to air dry if you want relaxed, beach-type waves, or I used a warm blow-dryer (not too hot!) with a round brush to dry it straight. Then came our beloved heat protectant before I curled the hair in sections using a thick-barrelled curling tong. (If you’re a buss-down baddie, you can replace this with a flat iron.) Then came a light spritz of hair spray to deal with any flyaways and then, then I gently brushed through the curls for a more relaxed look.
More hair stories from black ballad
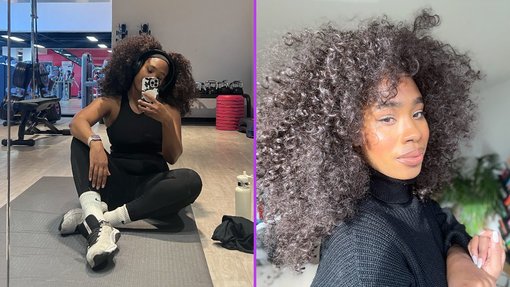
Your Sweat-Proof Guide To Maintaining Your Hair While Working Out
Tuesday 26 May 2026 1:00 PM
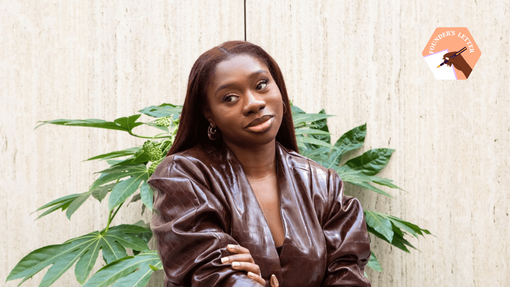
Founder's Letter: Why Being A Redhead In This Season Feels Right
Sunday 22 March 2026 11:59 PM
Black Ballad Braiders' Club: London
Sunday 8 February 2026 3:00 PM
Black Ballad Braiders' Club: Birmingham
Sunday 25 January 2026 2:00 PM